重新安装 Ubuntu 后工具安装
1 删除原来的 ctags
$ sudo apt-get remove ctags # ctags 的重新安装
$ sudo apt-get autoremove
2 安装 ssh
生产 ssh 密钥,使用 github ssh 下载:
$ ssh-keygen -t rsa -C "wujinggrt@foxmail.com"
需要把 id_rsa.pub 的内容放入 github 账号的 SSH 中才能够使用这个协议,才能够用 SSH 下载而不是 http。
3 安装所有需要的工具集
$ sudo apt-get install git tmux autoconf automake libncurses5-dev python-dev python3-dev libatk1.0-dev libxpm-dev libxt-dev libbonoboui2-dev cmake build-essential fonts-powerline nodejs npm clang clang-tools-8 zsh
Ubuntu 19-04 是不用重新编译 vim,因为自带 vim 8,需要重新配置 universal-ctags。
4 plug-vim
$ curl -fLo ~/.vim/autoload/plug.vim --create-dirs \
    https://raw.githubusercontent.com/junegunn/vim-plug/master/plug.vim
5 YCM 还需要到目录去
$ python3 install.py --clangd-completer
6 clangd 配置
6.1 install
$ sudo update-alternatives --install /usr/bin/clangd clangd /usr/bin/clangd-8 100
$ clangd --version
6.2 配置 .vimrc
然后在 .vimrc 添加(在我的 github 的 linux-conf 中已经添加了下面几个,所以只需要使用 github 上面的 .vimrc 就 OK, 不用在拷贝下面):
" Let clangd fully control code completion
let g:ycm_clangd_uses_ycmd_caching = 0
" Use installed clangd, not YCM-bundled clangd which doesn't get updates.
let g:ycm_clangd_binary_path = exepath("clangd")
let g:ycm_clangd_args = ['-log=verbose', '-pretty']
完成配置
7 instant-markdown 启动
似乎每次开机的时候都要启动才可以。
$ sudo npm -g install instant-markdown-d
8 zsh 配置
8.1 替换默认的 shell
$ chsh -s $(which zsh)
8.2 zsh 主题: poerlevel10k
$ git clone https://github.com/romkatv/powerlevel10k.git ~/powerlevel10k
$ echo 'source ~/powerlevel10k/powerlevel10k.zsh-theme' >>! ~/.zshrc
9 工具 autojump
$ git clone git://github.com/wting/autojump.git
$ cd autojump
$ ./install.py or ./uninstall.py
然后根据提示添加设置到 .zshrc 或者 .bashrc
10 安装 universal-ctags
10.1 从 github 下载源代码
在上面的工具安装完了之后,下载源代码
$ git clone https://github.com/universal-ctags/ctags.git # or git@github.com:universal-ctags/ctags.git $ cd ctags
$ sudo ./autogen.sh
$ ./configure --prefix=/usr/local/universal-ctags
10.2 编译和安装路径的设置
$ make -j8
$ sudo make install
$ sudo rm /usr/bin/ctags
$ sudo ln -s /opt/software/universal-ctags/bin/ctags  /usr/bin/ctags
10.3 .root file
ctags 还需要注意放 .root 文件到工程目录或者 home 反正上一级,否则不能正常补全
11 编译安装最新版本 vim
11.1 编译和安装
Ubuntu 19-04 自带 vim 8,不需要这么麻烦。但是其他如果不是的话,需要这么做。
$ dpkg -l | grep vim
$ sudo apt-get remove vim vim-runtime vim-tiny vim-common
$ git clone https://github.com/vim/vim.git # or git@github.com:vim/vim.git
$ sudo ./configure --with-features=huge --enable-multibyte --enable-rubyinterp --enable-pythoninterp --enable-python3interp --enable-luainterp --enable-cscope --enable-gui=gtk3 --enable-perlinterp --with-python-config-dir=/usr/lib/python2.7/config-x86_64-linux-gnu/ --with-python3-config-dir=/usr/lib/python3.6/config-3.6m-x86_64-linux-gnu/ --prefix=/usr/local/vim
$ sudo make
$ sudo make install
$ sudo ln -s /usr/local/vim/bin/vim /usr/bin/vim
$ sudo ln -s /usr/local/vim/bin/view /usr/bin/view
11.2 配置解释
- –with-features=huge:支持最大特性
- –enable-rubyinterp:打开对 ruby 编写的插件的支持
- –enable-pythoninterp:打开对 python 编写的插件的支持
- –enable-python3interp:打开对 python3 编写的插件的支持
- –enable-luainterp:打开对 lua 编写的插件的支持
- –enable-perlinterp:打开对 perl 编写的插件的支持
- –enable-multibyte:打开多字节支持,可以在 Vim 中输入中文
- –enable-cscope:打开对cscope的支持
- –enable-gui=gtk3 表示生成采用 GNOME3 风格的 gvim
- –with-python-config-dir=/usr/lib/python2.7/config-x86_64-linux-gnu/ 指定 python 路径
- –with-python3-config-dir=/usr/lib/python3.6/config-3.6m-x86_64-linux-gnu/ 指定 python3路径
- –prefix=/usr/local/vim:指定将要安装到的路径
12 superuser
$ sudo passwd # 创建新的超级用户密码
13 tmux 配置的源地址
$ git clone git@github.com:gpakosz/.tmux.git
14 更仔细的 powerline 字体
网站: https://powerline.readthedocs.io/en/latest/installation/linux.html#fonts-installation
$ pip install --user powerline-status
# 如果没有安装的话就
$ pip install --user git+git://github.com/powerline/powerline
$ wget https://github.com/powerline/powerline/raw/develop/font/PowerlineSymbols.otf
$ wget https://github.com/powerline/powerline/raw/develop/font/10-powerline-symbols.conf
$ mv PowerlineSymbols.otf ~/.local/share/fonts/
$ fc-cache -vf ~/.local/share/fonts/
$ mv 10-powerline-symbols.conf ~/.config/fontconfig/conf.d/
15 Chrome 和常用软件,常用 setting
安装 Chrome 安装插件 vimium, setupvpn。
从 Ubuntu Software 中搜索和安装 vscode。
从 setting->power 中 blink screnn 选择 never, 取消锁屏。
Ubuntu chrome 不能在拓展中安装插件:
选择左上角的开发者模式,然后按 F5,之后就可以直接拖住安装。
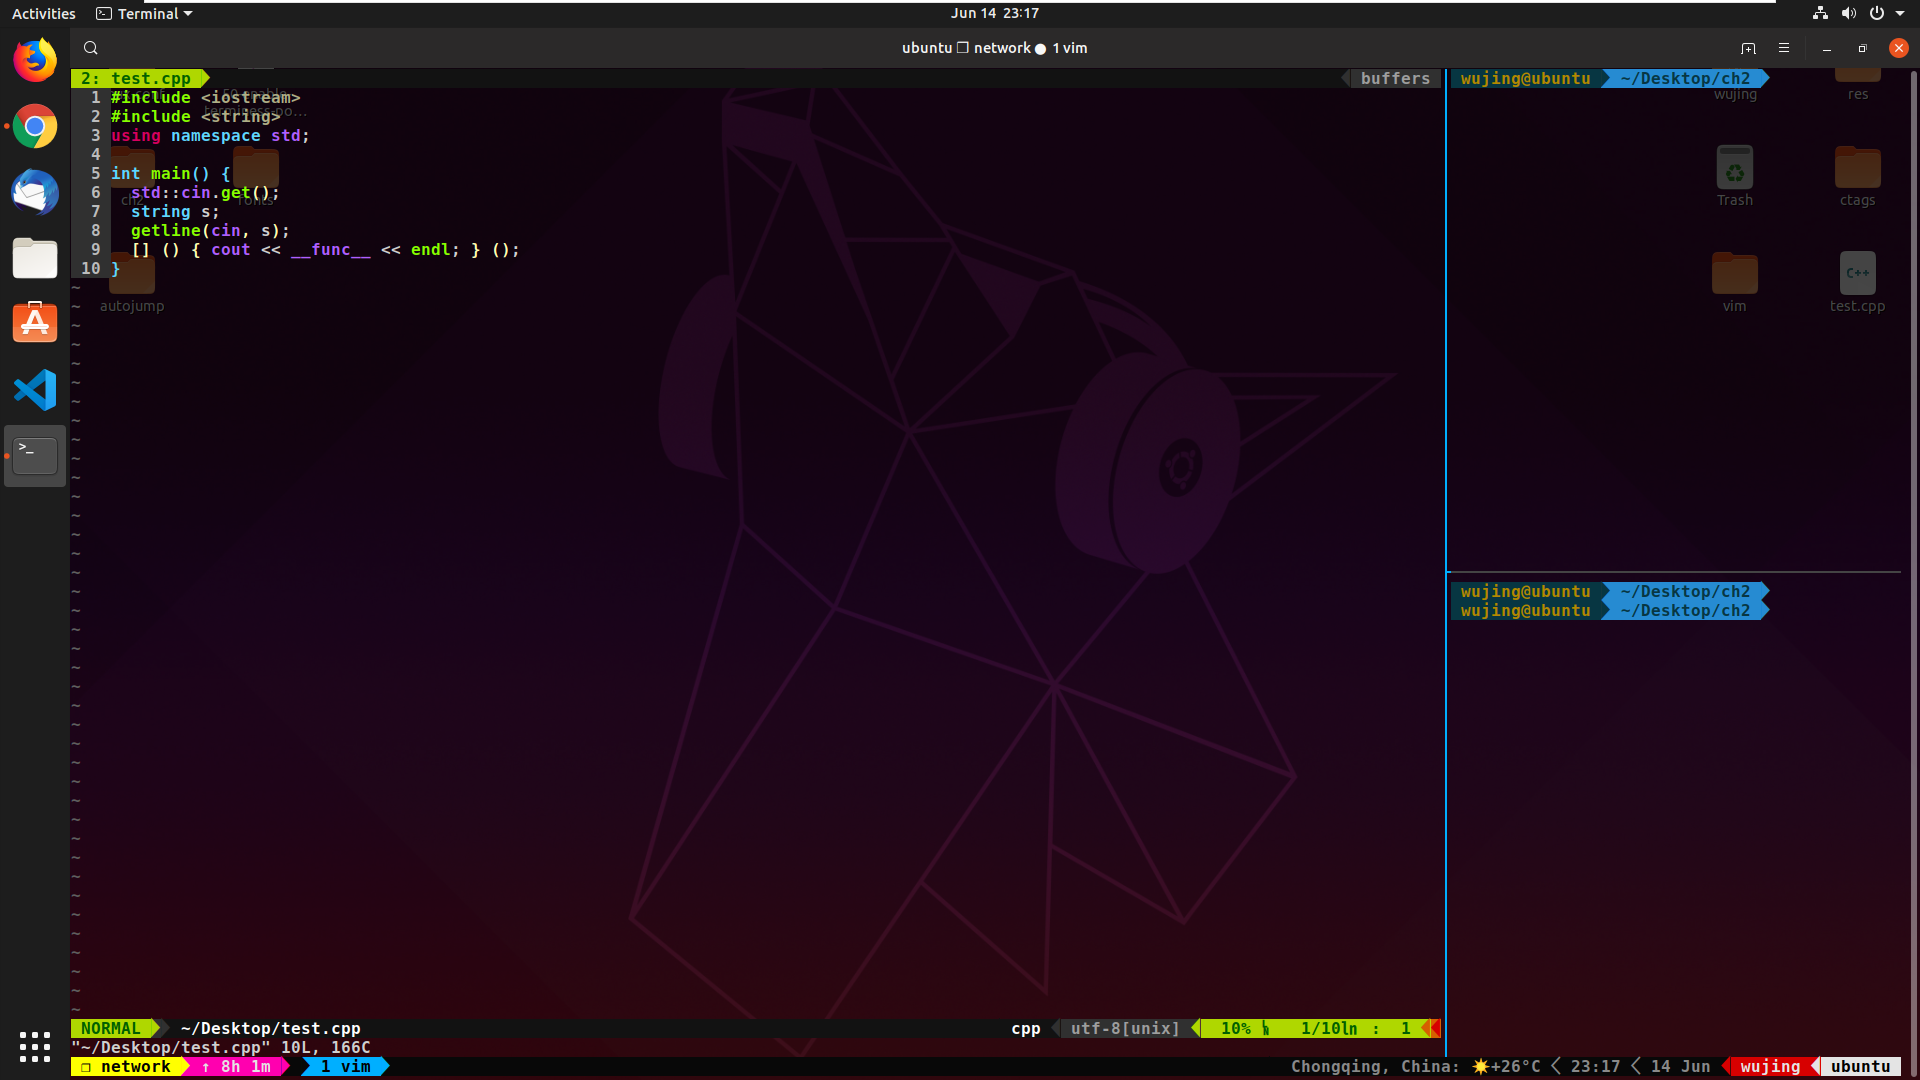
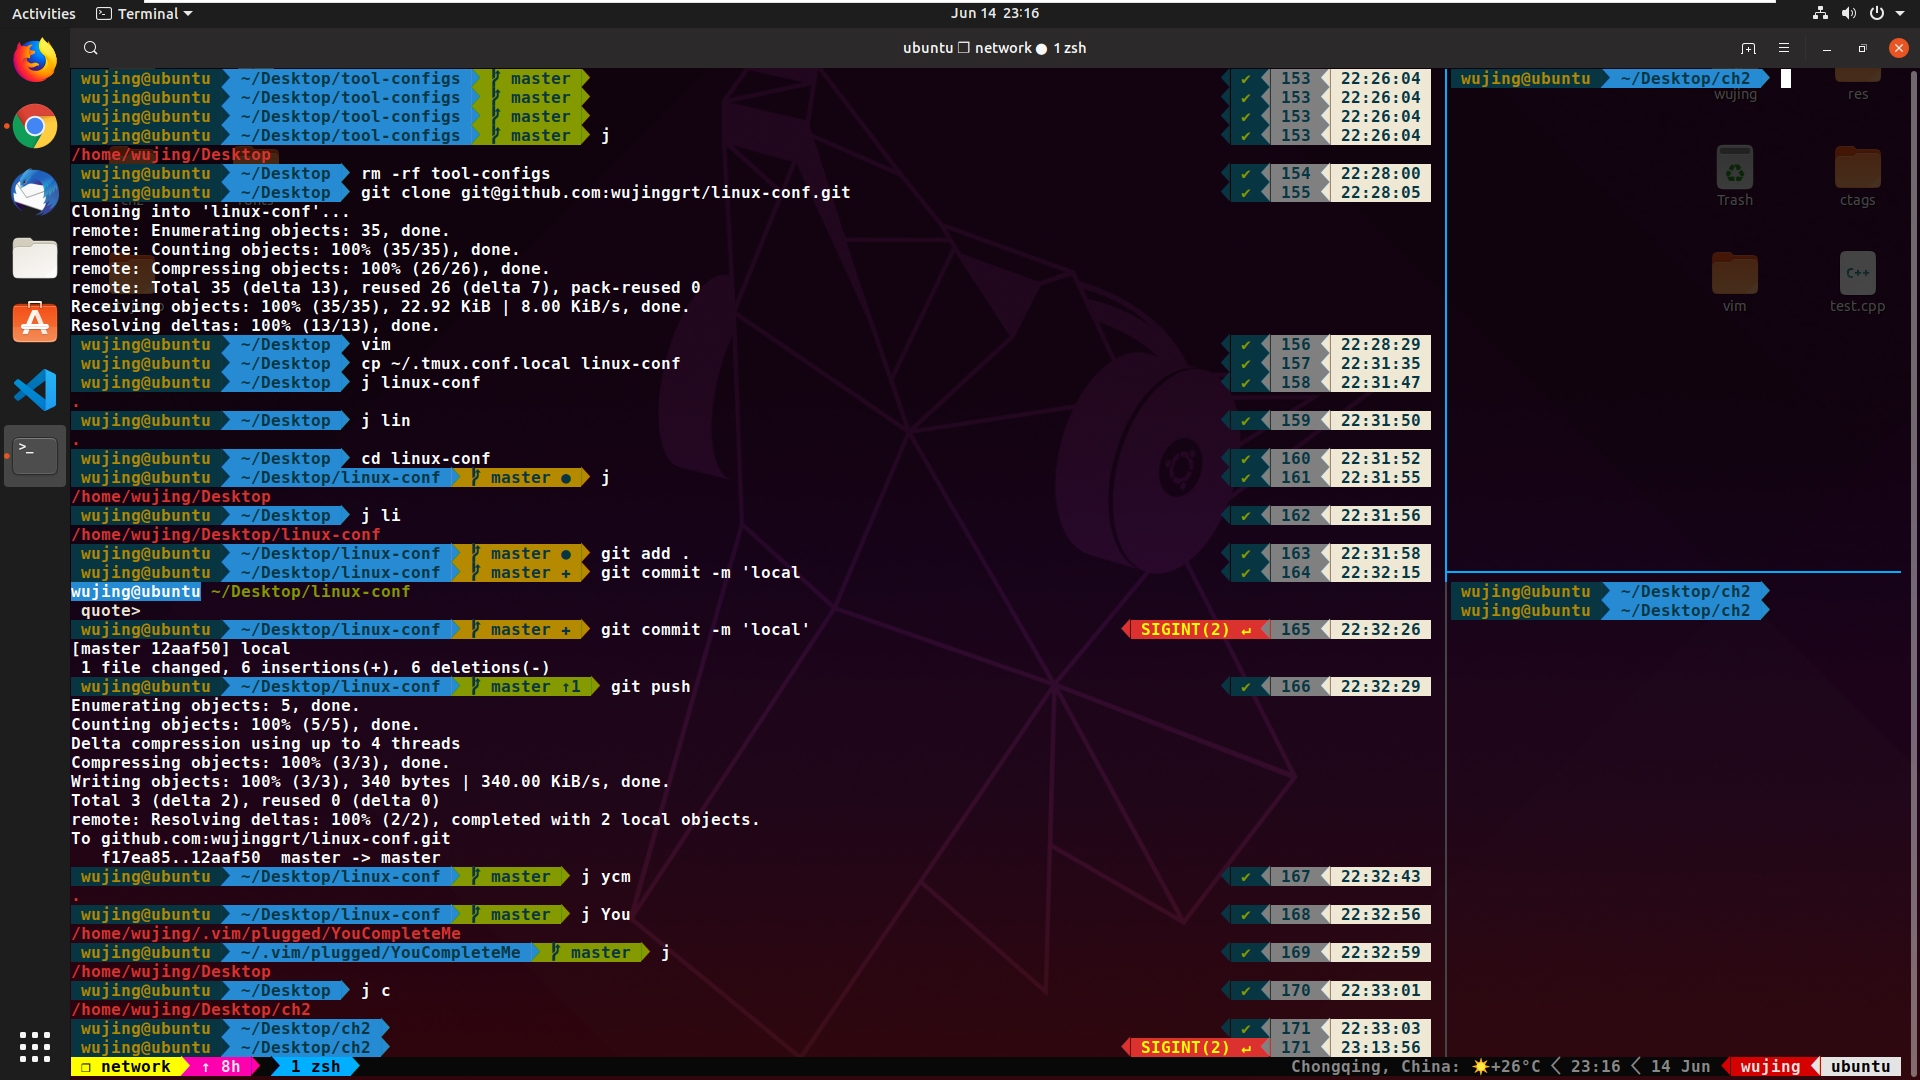
成果


Written on June 14, 2019
